


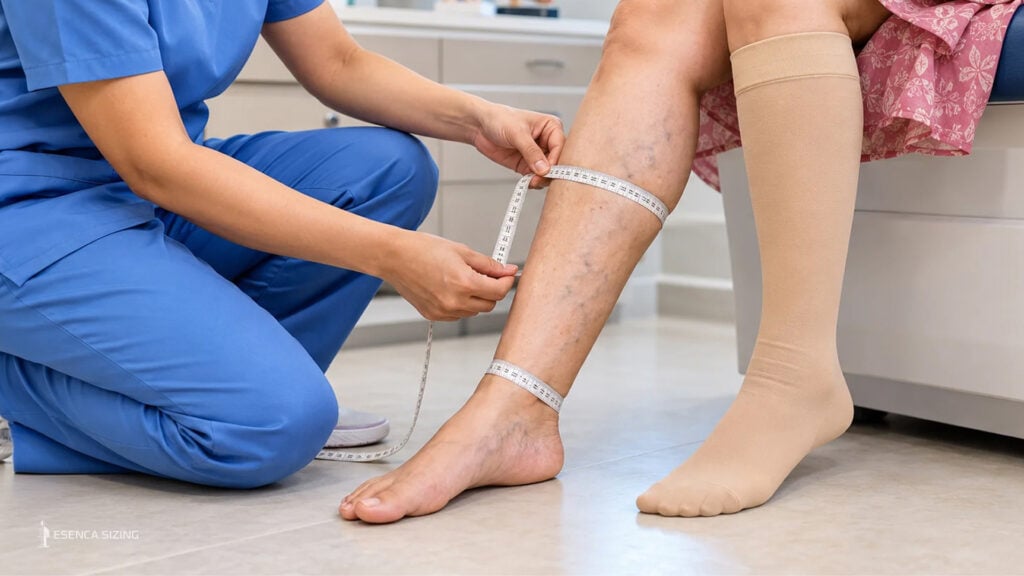
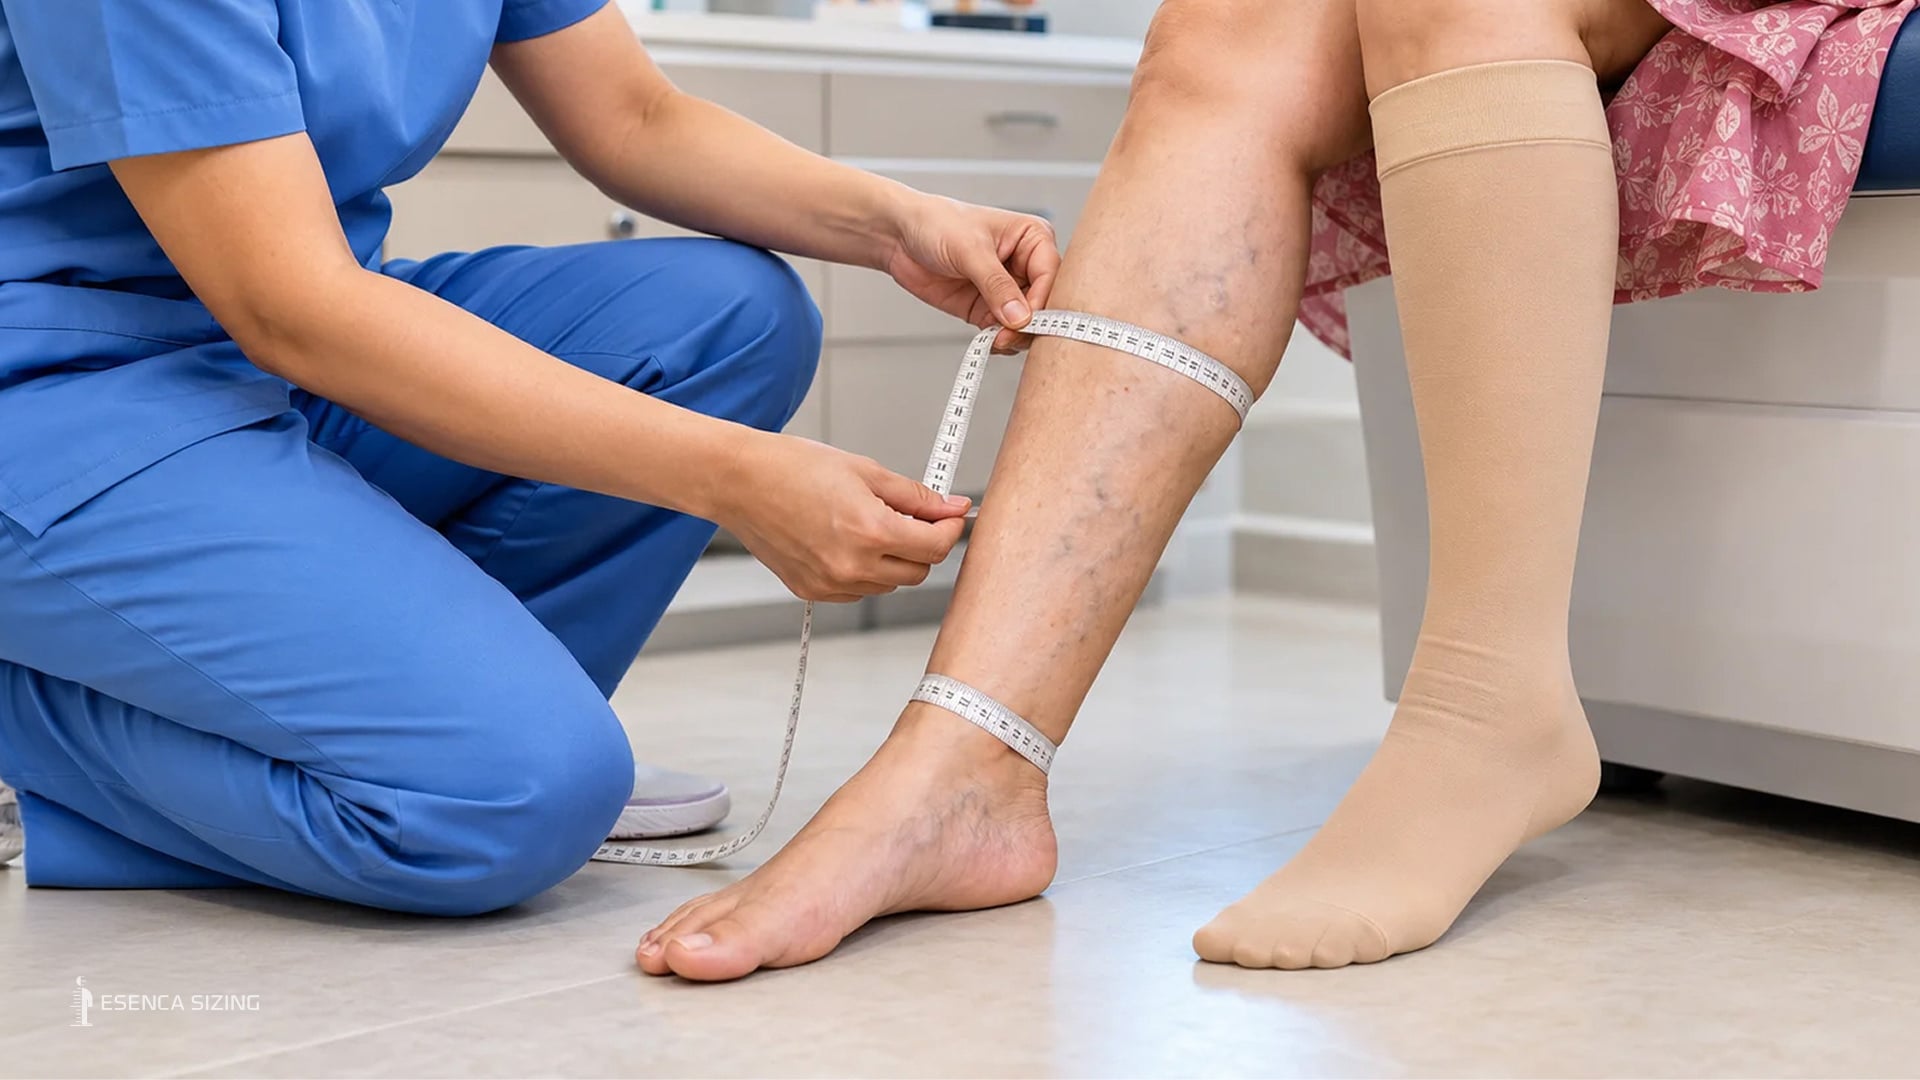
Measure the ankle at its narrowest point just above the bone, the calf at its widest point, and the length from the floor to the bend of the knee. Take the readings first thing in the morning, before the leg has had a day to swell, with the person standing. It takes about two minutes.
Getting the same numbers on a second attempt is harder. Most of what goes wrong when people learn how to measure for compression stockings happens in the tape work, before the garment is ever chosen, and most of the causes can be fixed.
What you need to measure for compression stockings
Knee-high vs thigh-high vs pantyhose
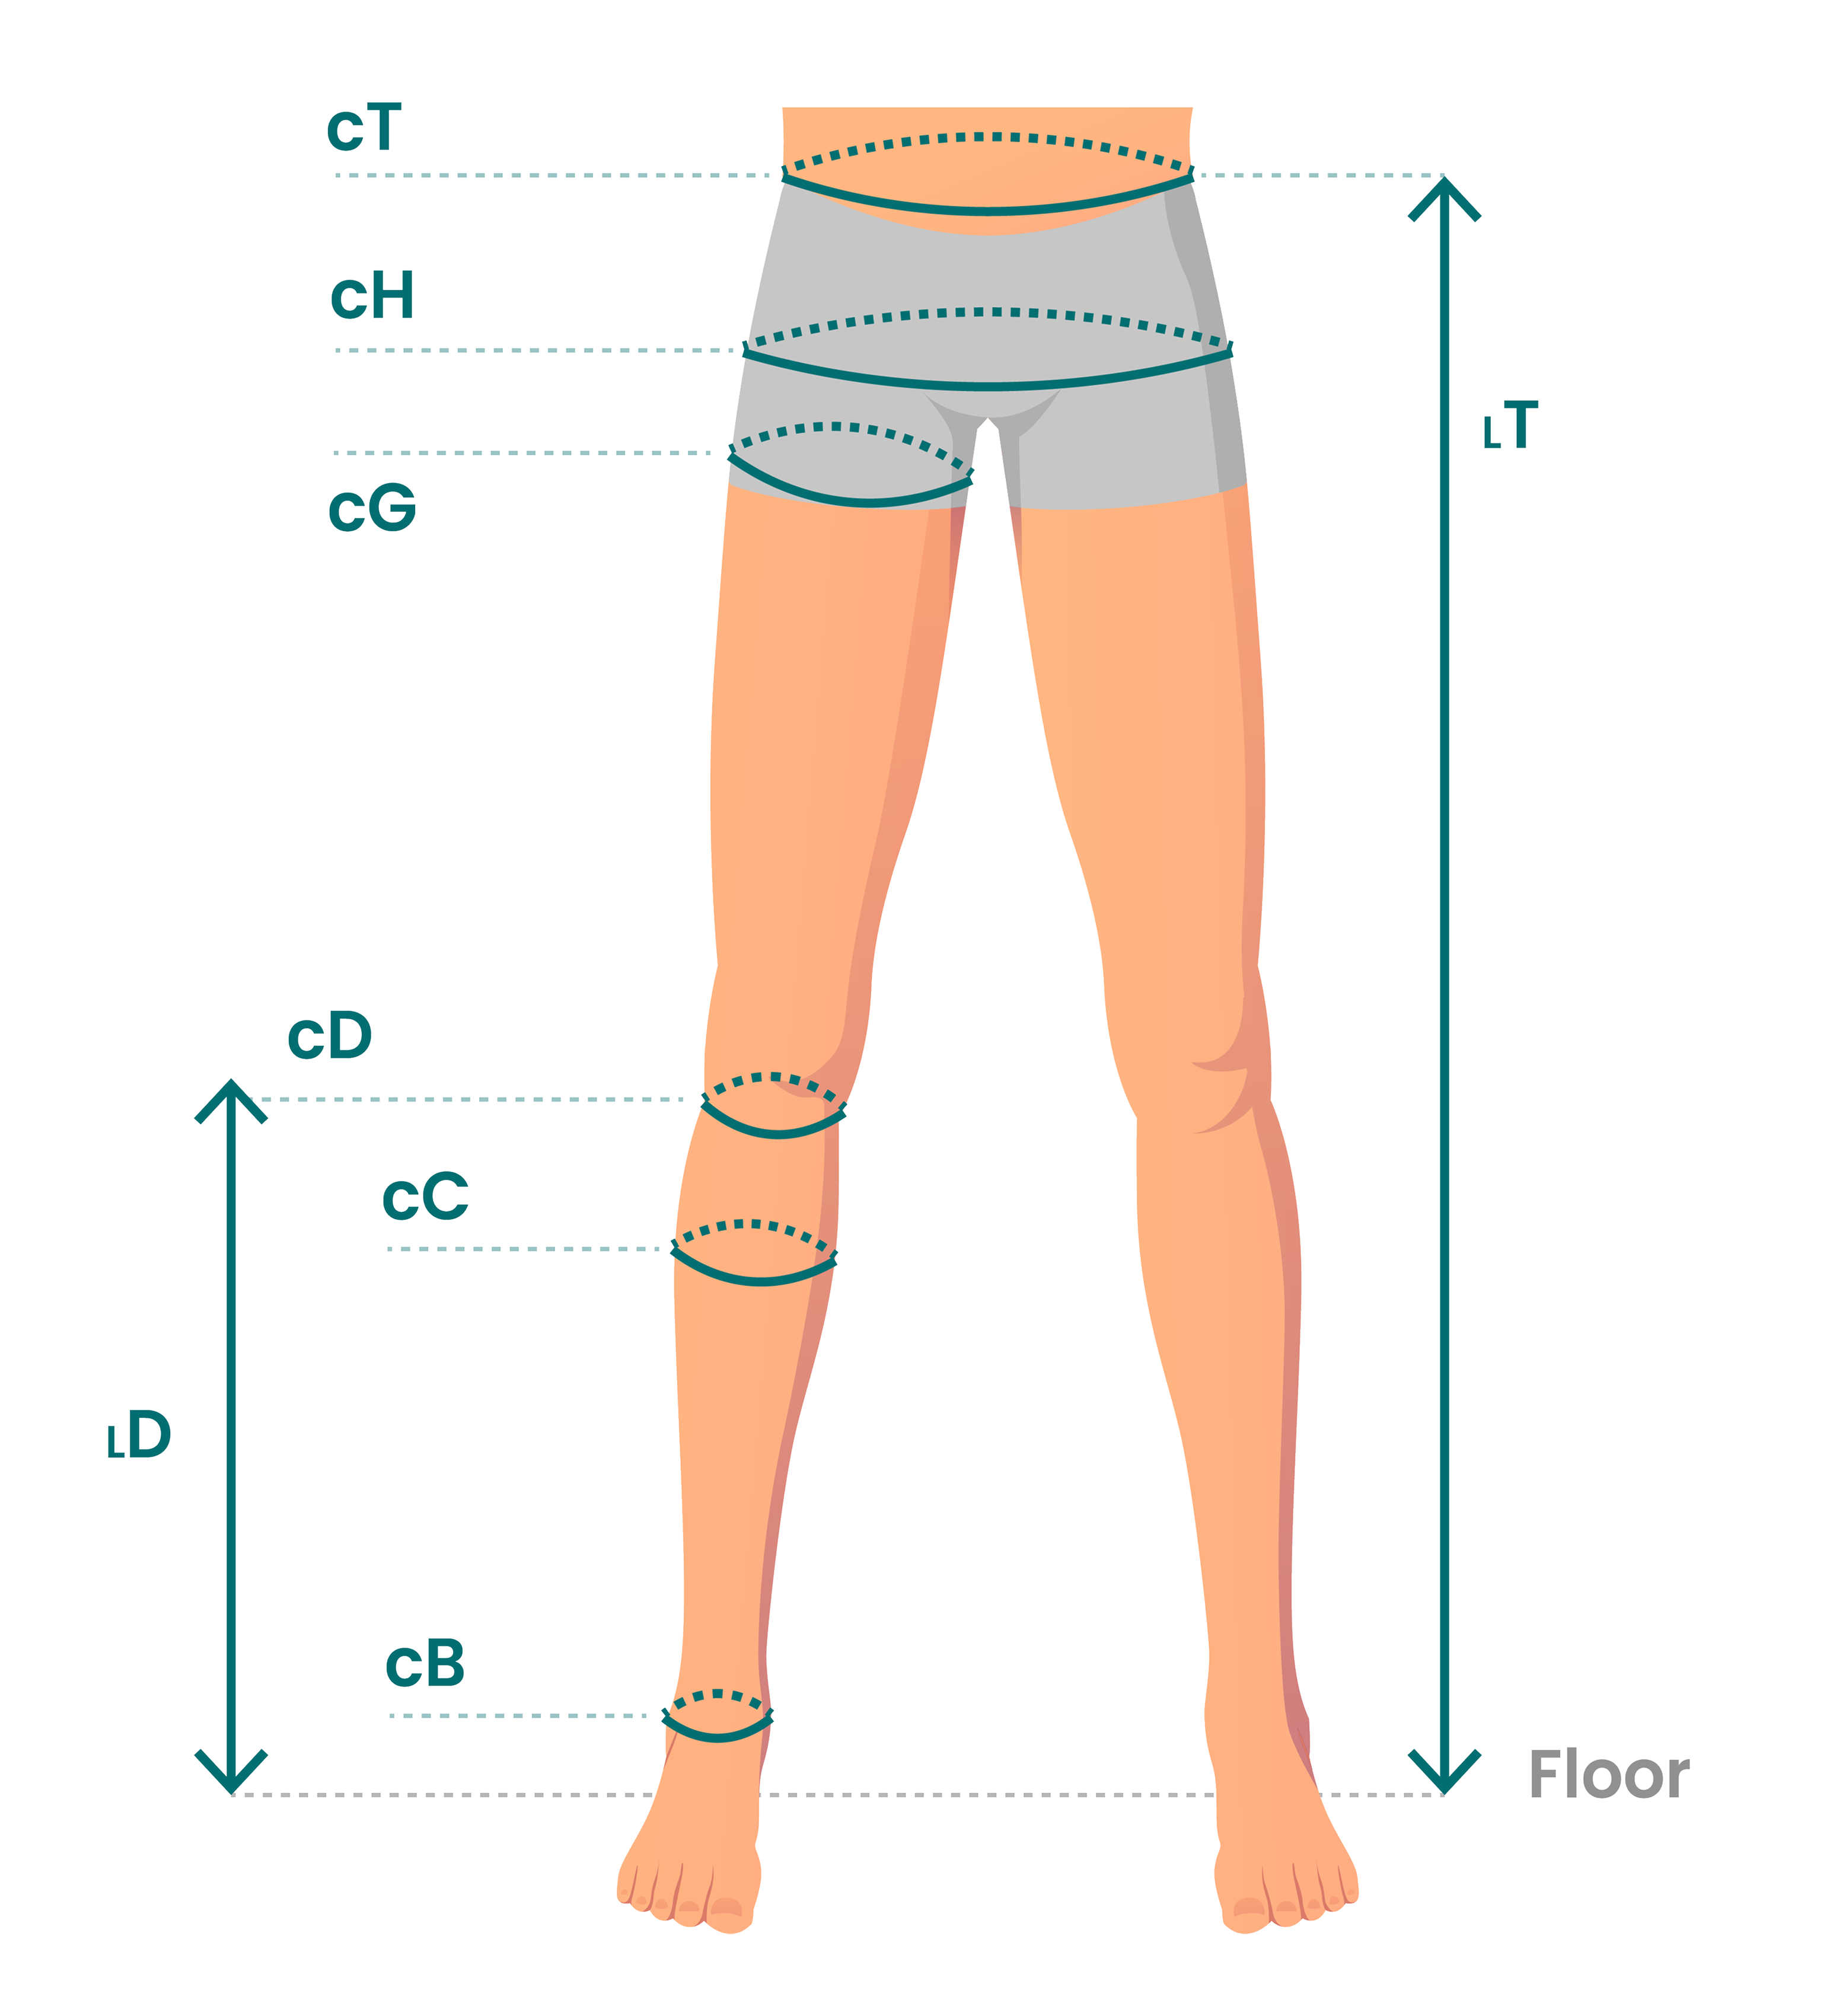
Each garment length needs a different set of readings. A knee-high needs the ankle circumference, the calf circumference, the circumference just below the knee, and the length from the floor to that point. A thigh-high adds the thigh circumference and the length from the floor to it. Pantyhose styles add the hip circumference at the widest part of the buttocks, the waist, and a full leg length.
Manufacturers label these points with letter codes. Circumferences are prefixed with c and lengths with l, so cB is the ankle circumference and lD is the floor-to-knee length. The codes are shared, which makes them look interchangeable between companies. In practice they are not, because each manufacturer defines the points slightly differently.
Circumference vs length measurements
Circumference decides the size. Length decides which length variant of that size you order, usually something like petite, regular or long. Getting the circumference right and the length wrong puts a correctly sized garment in the wrong place on the leg, which moves the pressure gradient away from where it was designed to sit.
How to measure for compression stockings, step by step
The sequence below is the same whether you are working out how to measure for compression socks at home or running a fitting clinic. Use a flexible tape, record in centimeters, and write every reading down as you take it.
Step 1: Measure the ankle circumference
Find the narrowest point of the ankle, just above the ankle bone, and take the circumference there with the tape flat against the skin and firm. This is the point most size charts key off, so it carries the most weight of the five.
Step 2: Measure the calf circumference
Find the widest point of the calf by eye, then check it by sliding the tape a centimeter up and down and keeping the largest reading. The widest point is not at a fixed height, and it moves between people.
Step 3: Measure the below-knee length and circumference
Take the circumference two finger widths below the bend of the knee, then measure the length from the floor to that same height with the person standing.
Step 4: Measure the thigh circumference and leg length
For thigh-highs, take the thigh circumference at the mid-thigh point and the length from the floor to it.
Step 5: Measure the hip and waist
For pantyhose styles, add the circumference at the widest part of the buttocks and the waist circumference, plus the full length from floor to waist.
Measure both legs separately. The two legs are rarely identical, and a size chosen from the larger leg will be loose on the other.
When to measure: why time of day changes the result
Leg volume rises through the day. Fluid moves into the lower leg under gravity and comes back out overnight, so the same leg is measurably larger at 5 p.m. than at 8 a.m., and more so after a day spent standing. Sigvaris puts the instruction plainly in its own measuring guide: measure the leg without swelling, in the morning if possible.
This has two practical effects. If a patient has been wearing a compression garment, remove it and allow the leg to settle before measuring, since the garment has been holding the volume down. And if a morning appointment is impossible, record the time of day alongside the readings, so the next fitter knows what they are comparing against.
Where tape measurement goes wrong: 6 common errors
Finding the wrong landmark
Manufacturers publish measuring instructions that use the same letter codes and define them differently. Sigvaris defines cB as the narrowest point above the ankle. Bauerfeind defines cB as the circumference one finger width above the medial malleolus. Each definition is correct for that company’s own size chart, but they describe different points on the leg.
The calf is harder still. There is no bone to mark the widest point, so the fitter has to find it by moving the tape. Two fitters who search slightly differently get two readings from one leg.
Tape tension and angle
The right tension depends on the measurement point. Bauerfeind’s instructions specify firm tension at the ankle and calf points and light tension at the point below the knee. A fitter who uses the same tension throughout is not following these instructions. Soft tissue compresses under the tape, so a firm pull takes millimeters off a thigh reading and almost nothing off an ankle reading, so the error is uneven along the leg.
Angle matters too. The tape should sit perpendicular to the leg. If it slants, it wraps a longer path around the limb than a straight cross-section, and the reading comes out too large.
Patient posture: standing vs seated
A leg measures differently standing and seated. Sigvaris specifies an upright position. Sitting changes the calf shape and lets fluid pool differently. If a patient cannot stand, measuring them seated is reasonable, but note the position alongside the readings.
Different fitters, different numbers
The best available repeatability figure for tape measurement of a leg comes from Labs and colleagues, who measured 60 legs in 30 healthy volunteers three times each with a spring tape. Agreement was high, with reliability coefficients of 0.996 at the calf and 0.984 at the ankle, and repeatability coefficients of about 5 mm at both sites.
The study design limits what those figures show. One investigator took every measurement, the legs were healthy, not swollen, and the authors say directly that results depend on the investigator’s skill and that their figures are specific to their centre. The study did not test agreement between different measurers. So the figure most often cited for tape reliability comes from a single measurer. Clinics, where several fitters measure the same patients, have been studied less. For the same question on the hand, see how accurate a tape measure is for glove sizing.
Rounding, unit conversion and in-between sizes
Size charts are published in bands. A reading of 24.2 cm written down as 24 cm sits at the bottom of one band. Written as 24.5 cm, it sits in the middle. Rounding to the nearest half centimeter at the point of measurement changes the size for anyone near a boundary.
A compression stockings size chart in inches adds a second step, because converting from a tape marked in centimeters and then rounding twice compounds the error. Measure and record in the units the chart uses.
Wide calves and plus size legs: shapes a standard size chart misses
Ready-to-wear charts pair an ankle range with a calf range, and they assume the two go together. A wide calf with a slim ankle, a plus size leg with a disproportionate thigh, or a leg shaped by long-standing oedema can land in two different sizes depending on which measurement you follow. Standard charts do not say which measurement to follow in that case.
How to read a compression stocking size chart
A compression socks size chart maps circumference ranges onto size numbers, usually I through VI, with separate length variants. To read one, find the band your ankle reading falls into, check that the calf reading falls into the same size’s band, then pick the length variant from the floor-to-knee measurement.
Why the same measurements give different sizes across companies
Ankle bands are narrow. In one published JOBST ready-to-wear chart, size I covers 18 to 20 cm at the ankle, size II covers 20 to 22 cm, and so on in 2 cm steps. A repeatability band of 5 mm is a quarter of that step, and two fitters a centimeter apart are half a size apart.
Calf bands vary more, and they vary within a single company. The same manufacturer’s published chart lists a size I calf range of 28 to 34 cm for one product group and 30 to 36 cm for another. So the same calf reading can fall into different sizes depending on the product. This is the same problem documented in our glove size chart article, where a labelled size describes one maker’s grading rather than a fixed body dimension.
To size compression socks correctly, always use the chart for the specific product you are ordering.
When ready-to-wear is not enough: made-to-measure
When the ankle and calf readings point to different sizes, when a length falls outside the published variants, or when limb shape has been altered by oedema or surgery, made-to-measure is the route. A made-to-measure garment is built from the full set of circumferences and lengths, so it does not have to compromise between two bands.
How should compression stockings fit?
Compression socks should fit snug and even, tightest at the ankle, easing as it goes up, with no part of it digging in. Getting it on should take effort. Once on, it should feel like firm, uniform support.
These are the common signs of a wrong size:
- Rolling at the top band. Usually too small in the calf or thigh, or the length is too long.
- Bunching or wrinkling at the ankle. Usually too large, or the length is too short for the leg.
- Deep marks or indentations that stay after removal, especially at the top band.
- Slipping down during the day, which points to a length or calf-circumference mismatch.
- Numbness, tingling or colour change in the foot. Remove the garment and consult the prescriber.
Selecting a compression class and deciding whether compression is appropriate at all are clinical decisions. This page covers how to measure for compression stockings, not which garment to choose.
How companies and clinics reduce measurement error
Standardized protocols and training
The simplest fix is a written protocol that fixes the four variables above: which landmark definition is in use, what tension at which point, standing or seated, and the time of day. Record the time of day and the measurer’s identity alongside the readings. Without them, there is no way to work out later why two sets of readings differ.
Digital measurement and repeatability
Camera-based measurement with machine learning models extracts the circumferences from photographs against a reference object, which removes tape tension and operator landmark choice from the process. In clinical benchmarking for a compression garment application, Esenca Sizing’s leg measurements showed repeatability of ±3 mm and accuracy of ±5 mm, with 91.4% of circumference measurements falling within ±0.75 cm.
These figures come from our own testing, so check them as you would any supplier’s. Ask us, or anyone else, for the reference method, the sample size and the error range per measurement point, because accuracy can differ between the ankle and the thigh.
See our medical measurement page for how this works in a compression setting, or our foot measurement page for the adjacent application.
Download a compression stocking measurement form (PDF)
Fitters who want a printable guide to how to measure for compression stockings can download the measurement form as a PDF. It lists each point in order with space for both legs, the time of day, and the measurer’s name.
Frequently Asked Questions
What size compression socks do I need?
Measure your ankle at its narrowest point and your calf at its widest, then find the size whose published ranges contain both readings. If the two readings point to different sizes, or the length falls outside the available variants, ask a fitter about made-to-measure.
Should you measure for compression stockings in the morning?
Yes, where possible. Leg volume rises through the day, so a morning measurement captures the leg closer to its unswollen state. If you measure later, write down the time alongside the readings.
Can you measure for compression stockings yourself?
You can take the readings, and the common errors are harder to avoid alone: reaching the calf while standing upright, keeping the tape perpendicular, and holding consistent tension. Have someone else take the readings if you can, and take each one three times.
How often should you re-measure?
Whenever the garment starts fitting differently, after a change in weight, limb volume or clinical status, and at each replacement cycle. A garment that has lost its compression will also feel looser without the leg having changed, so re-measure before assuming the leg has.
What if I am between sizes?
Record both readings to the nearest half centimeter and check them again on a different day. If you are still between sizes, the ankle reading usually governs for a knee-high, and a persistent mismatch between ankle and calf is the signal to look at made-to-measure.
Do compression stocking sizes differ between manufacturers?
Yes. Companies define their measurement points differently, and their size bands differ, including between product lines from the same company. Always use the size chart for the specific garment being ordered.